
Transferring your site to a new host can be a bit scary if you haven’t done it before. We thought this would be a good time to teach you how to tackle that site transfer yourself—in this case, to our favorite host, SiteGround (see our review of SiteGround for more). Now that you’ve successfully transferred your domain, this week, we’ll walk you through how to install WordPress on your new host.
- Make sure you’ve successfully transferred your site’s domain to SiteGround.
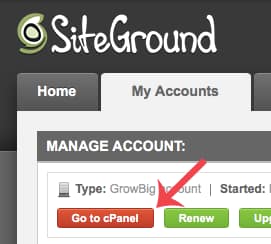
- Login to your SiteGround account (if you aren’t already) and click “My Accounts” > “Go to cPanel”.

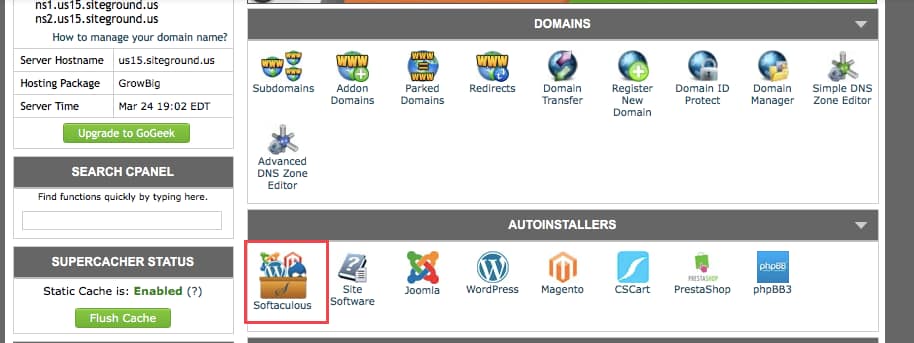
(click to enlarge) - Click the icon for “Softaculous” under “Autoinstallers”.

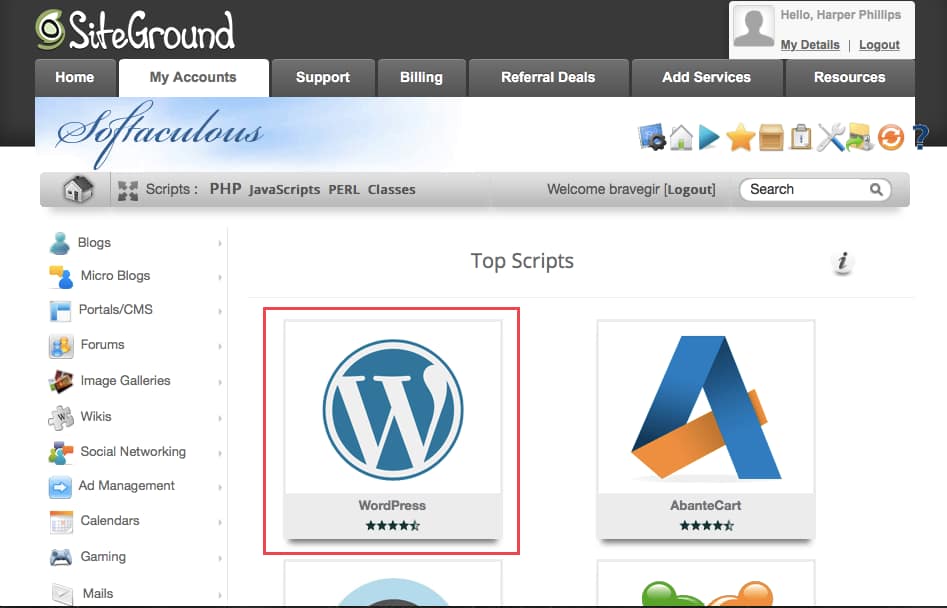
(click to enlarge) - Hover over the WordPress icon and click “Install”.

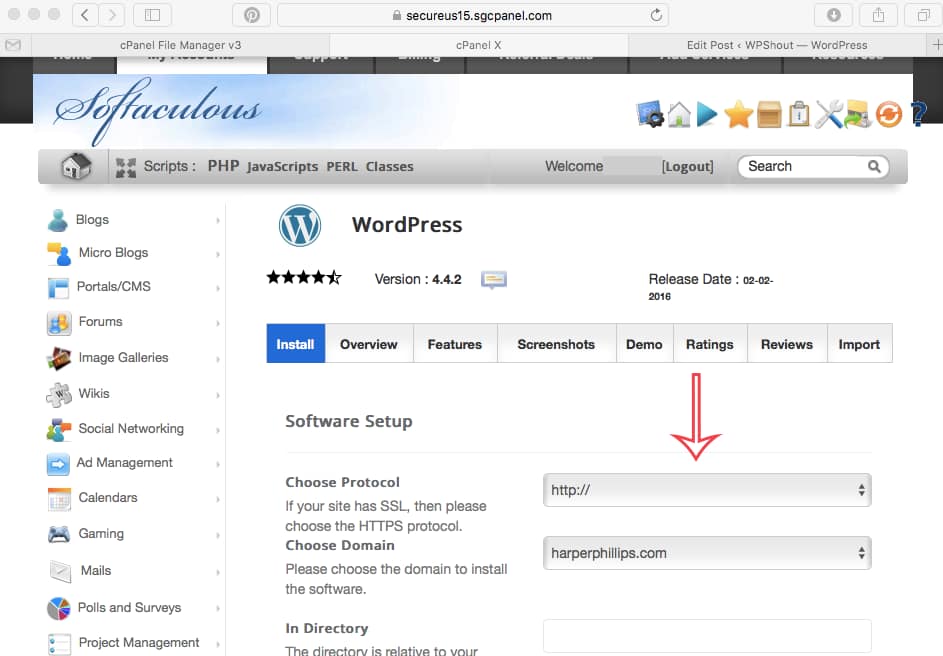
(click to enlarge) - Choose your settings, making sure to select:
http://as the protocol (selectinghttps://at this point in the process will make your admin area inaccessible), the domain you’re transferring from the domain drop down, and the username and password for the admin account. Then click “Install”.
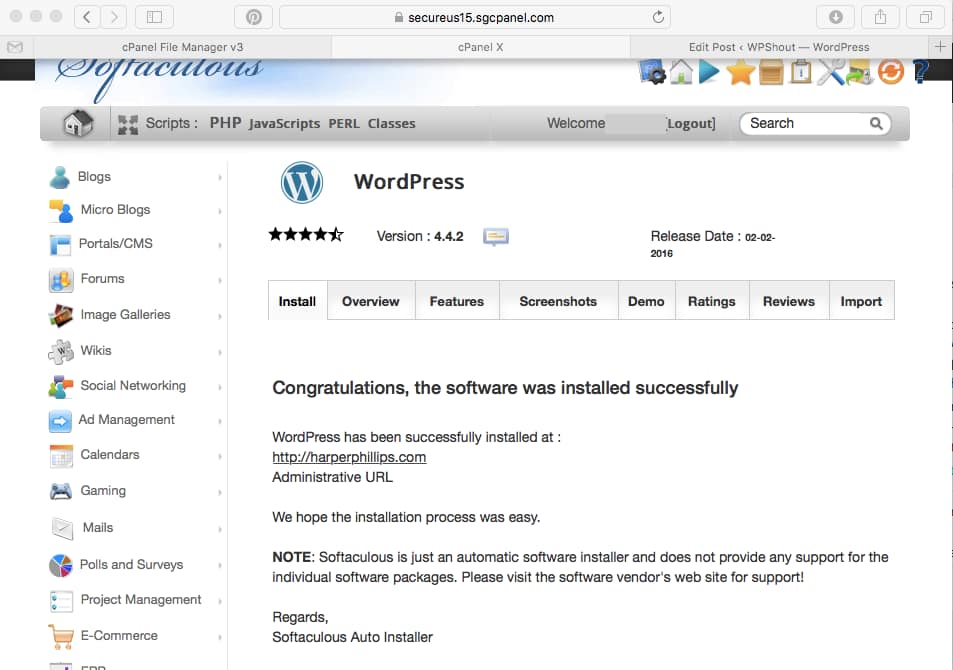
(click to enlarge) 
(click to enlarge) - Once WordPress is successfully installed, check your site to see if it directs you to a blank WordPress installation. If not, clear your web browser’s history, and wait. Re-directing your nameservers can often take 24-72 hours.
That’s it! Now that you have WordPress up and running on your new host, check out our tutorial on how to migrate your old theme and site data to your new host using All-in-One WP Migration.

[…] header is one of the very first things you’ll probably want to do after you’ve set up your site on your new host and installed a theme you like. Luckily, it’s also one of the simplest things you can do in […]