
Adding a custom logo to your site’s header is one of the very first things you’ll probably want to do after you’ve set up your site on your new host and installed a theme you like. Luckily, it’s also one of the simplest things you can do in WordPress. Here’s how to make it happen:
- Log in to your WordPress dashboard.

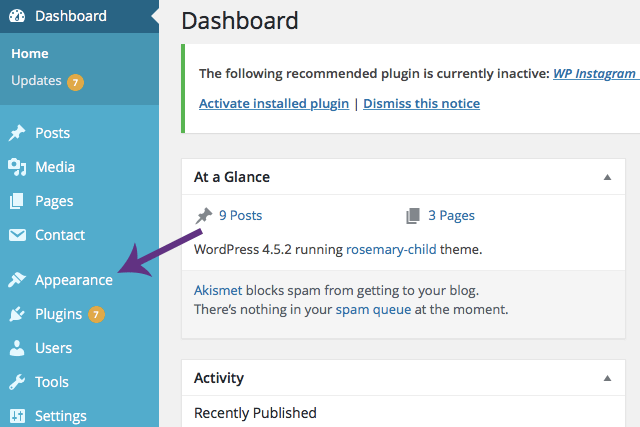
(click to enlarge) - Select “Customize” from the drop down menu under “Appearance”.

(click to enlarge) - Select the menu option for “Header” or “Logo” settings. The options available in the customizer are not standard throughout WordPress and are determined by the theme developer. You might have to search a bit to find section in your theme that allows for customizations. Here are a couple examples of what you’re looking for:

(click to enlarge) 
(click to enlarge) - Once you’ve found the area that controls your header, click “Select Image”.

(click to enlarge) - Click “Select Files” to upload the image file you want to use as your header logo. Then click “Choose Image”.

(click to enlarge) - Once you have a logo that looks the way you want it to in the preview to the right, click “Save” and that’s it!

(click to enlarge)

I’d like to have a smaller version of my logo for tablet and mobile to squeeze out a little more speed. Everytime I upload an image for one devices size in OPTIONS (mobile, tablet, desktop) all three change.
Hello,
i wanna put my logo un my nav bar on left but the solution i found in differents Topics doesn’t work.
Do you have solution ?
Is it possible to replace a menu text by an image ?
thank you !